Features:
A Botmaking Primer
Not sure where to begin with this whole bot thing? Joseph Kokenge is here to help.
It’s #botweek and the last few days of posts have provided plenty of examples why anyone might aspire to be a botmaker. Bots can be whimsical, hilarious, or serious. A working bot offers a unique way to present discrete units of information on a regular schedule, and, more importantly, a tantalizing incentive to practice data journalism skills like web scraping and data parsing.
Getting started can be intimidating, though. This post aims to get you over that proverbial hump, botmaker.
What Do I Need?
A computer. An imagination, too. Patience, a fearless heart, and a willingness to push through discouragement. (Remember, when it gets hard…we’ve all been there.)
Next, you’ll need a programming language. There are many options: We’ve already seen bots written in Ruby, Python, and JavaScript. Twitter provides a long list of languages to use, each with a link to its respective Twitter library. The important point, when getting started, is to pick a language and library for which you can get help. Stack Overflow and googling are good, necessary even, but it’s better to have people whom you can pester with questions. I’ll use Python and the Python library Twython. There are lots of data journalists who use Python and help is as close as the PythonJournos Google Group.
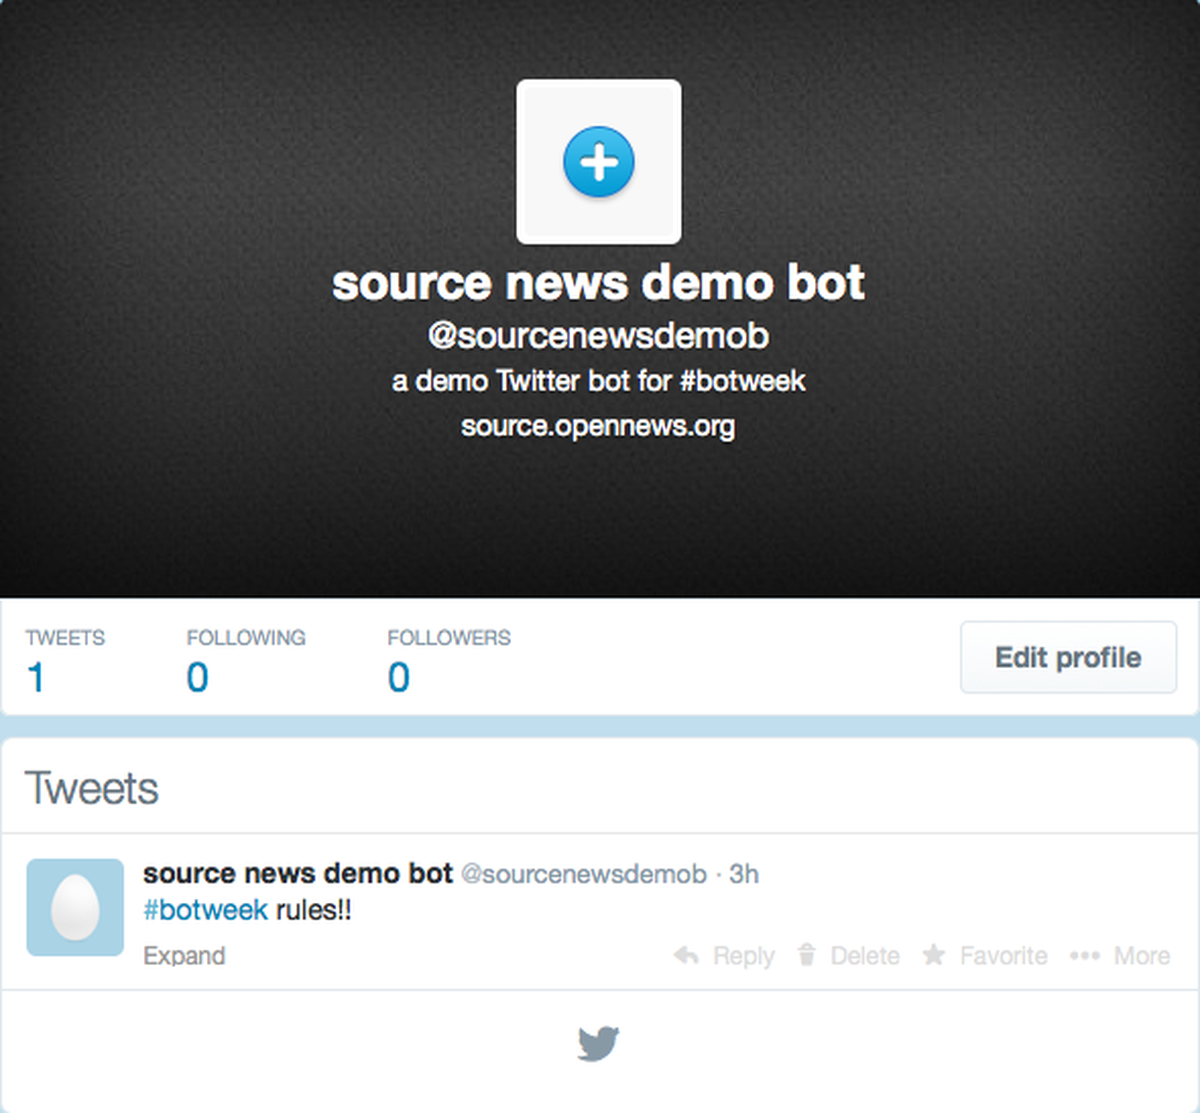
Finally, you’ll need a Twitter account from which to tweet. After you’ve registered your Twitter account, you’ll need to register your application. Log in to Twitter, then go to https://dev.twitter.com/apps. Click on the button “Create New App,” and fill out the necessary details for your bot’s name, description, and website (don’t worry about “Callback URL”). Agree to the checkbox for “Terms of Service” and click on “Create Your Twitter Application.”
Why register twice? The first registration was your usual Twitter account, the thing that will tweet. The application registration signs-up the code which will manipulate your Twitter account. The process through which these two—your code and your Twitter account—communicate is called “authentication.” Authentication insures that only your code has access to your Twitter account.
Authentication (In Which We Roll up Our Sleeves…)
The Twython documentation is excellent, especially on installing Twython. But, when it comes to authentication, the Twython documentation is almost too good, offering an in-depth walk-through of two scenarios, one much easier than the other…neither of which we will use. Instead, we will use a much more straightforward but still secure method.
This method involves generating four application “keys”: long strings of text and numbers that our bot will show to Twitter to prove we are who we say we are.
At this point, your Twitter screen should look like this:
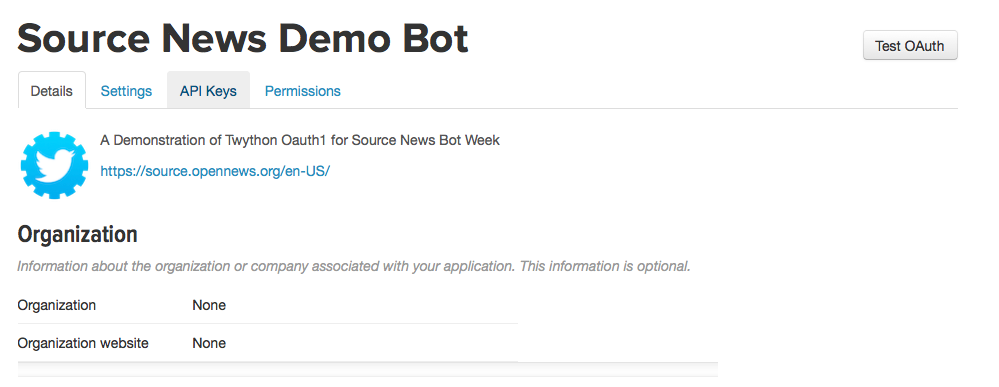
What your screen looks like just after registering your Twitter application
Click on the API Keys tab, look down to Access Level and click “modify app permissions.” To Tweet, we need to select “Read, Write and Access direct messages.” At this point, you may need to add a mobile number to your Twitter account for your applicaton/bot to have this permission level. (Go back to your Twitter account proper to add the mobile number in the account settings.) After you’ve added a mobile number, stay logged-in and return to https://dev.twitter.com and change to “Read, Write and Access direct messages.”
After modifying app permissions, you’ll need to “Regenerate API keys.” (You’ll see them just above “Access level,” called “API key” and “API secret.”) Your first keys were generated based on the previous permission settings. Scroll down and regenerate now. You may need to refresh your browser before the new keys appear.
Once your keys are regenerated, look just farther down that page to the “Create my access token” button. Click it!
What you see will look like this.

What your access tokens look like
These strings are the other two pieces you need to authenticate.
Write Python and Tweet!!
The code to send out a simple tweet is straighforward. The first line just tells Python that you want to use Twython. Next, assign your four code keys to variables, send these four variables along to Twython, and tweet with “update_status.” (Note, the access codes here are inactive.)

Python Code to Authenticate with Twython
If you get an error of this type: “TwythonAuthError: Twitter API returned a 401 (Unauthorized), Could not authenticate you,” you probably made an error pasting one of your four codes into your Python script. Make sure there are no spaces between the beginning of the numbers/letters and your apostrophe, i.e. ’ L2KttZhAMTSiutD6EbGkQ’ should be ‘L2KttZhAMTSiutD6EbGkQ’.
Where Do You Go From Here?
If you’re shy about your initial bot creations (Frankenstein’s monster was shy too in the beginning…) set your bot’s Twitter account to private until you’re ready to unleash your creation unto the world. If you’re looking to tweet some data and have it handy, look into this Python library gspread. Load your data into a Google spreadsheet, access it with this library, parse it and construct a tweet.
Don’t have a dataset? Want to explore scraping? Find a data set, scrape it (here’s a great tutorial from NICAR 14), load that into a Google spreadsheet and tweet it!
Above all, don’t code and suffer in silence. Reach out if you’re struggling! Ask questions. Explore. Test. Try.
Be a botmaker!
Credits
-
Joseph Kokenge
Nebraskan. Mortal.